5: 样式
5.1: CSS
在本节中,让我们更改用户界面,使其看起来更像一个专业的应用程序。首先,我们将添加一些基本的样式。
将我们 client/main.css 文件的内容替换为下面的内容,其目的是在顶部有一个应用栏,以及一个可滚动的包含以下内容的内容
- 添加新任务的表单;
- 任务列表。
client/main.css
body {
  font-family: sans-serif;
  background-color: #315481;
  background-image: linear-gradient(to bottom, #315481, #918e82 100%);
  background-attachment: fixed;

  position: absolute;
  top: 0;
  bottom: 0;
  left: 0;
  right: 0;

  padding: 0;
  margin: 0;

  font-size: 14px;
}

button {
  font-weight: bold;
  font-size: 1em;
  border: none;
  color: white;
  box-shadow: 0 3px 3px rgba(34, 25, 25, 0.4);
  padding: 5px;
  cursor: pointer;
}

button:focus {
  outline: 0;
}

.app {
  display: flex;
  flex-direction: column;
  height: 100vh;
}

.app-header {
  flex-grow: 1;
  white-space: nowrap;
  overflow: hidden;
  text-overflow: ellipsis;
}

.main {
  display: flex;
  flex-direction: column;
  flex-grow: 1;
  overflow: auto;
  background: white;
}

.main::-webkit-scrollbar {
  width: 0;
  height: 0;
  background: inherit;
}

header {
  background: #d2edf4;
  background-image: linear-gradient(to bottom, #d0edf5, #e1e5f0 100%);
  padding: 20px 15px 15px 15px;
  position: relative;
  box-shadow: 0 3px 3px rgba(34, 25, 25, 0.4);
}

.app-bar {
  display: flex;
  justify-content: space-between;
}

.app-bar h1 {
  font-size: 1.5em;
  margin: 0;
  display: inline-block;
  margin-right: 1em;
}

.task-form {
  display: flex;
  margin: 16px;
}

.task-form > input {
  flex-grow: 1;
  box-sizing: border-box;
  padding: 10px 6px;
  background: transparent;
  border: 1px solid #aaa;
  width: 100%;
  font-size: 1em;
  margin-right: 16px;
}

.task-form > input:focus {
  outline: 0;
}

.task-form > button {
  min-width: 100px;
  height: 95%;
  background-color: #315481;
}

.tasks {
  list-style-type: none;
  padding-inline-start: 0;
  padding-left: 16px;
  padding-right: 16px;
  margin-block-start: 0;
  margin-block-end: 0;
}

.tasks > li {
  display: flex;
  padding: 16px;
  border-bottom: #eee solid 1px;
}

.tasks > li > span {
  flex-grow: 1;
}

.tasks > li > button {
  justify-self: flex-end;
  background-color: #ff3046;
}
如果你想了解更多关于此样式表的信息,请查看这篇关于 Flexbox 的文章,以及 Wes Bos 制作的这个 视频教程。
Flexbox 是一个在 UI 中分配和对齐元素的优秀工具。
5.2: 应用样式
现在你需要在你的组件周围添加一些元素。此外,我们需要使用 class 属性将我们的新样式应用到应用程序。所有这些工作将在文件 App.html 中完成
imports/ui/App.html
..

  <template name="mainContainer">
      <div class="app">
          <header>
              <div class="app-bar">
                  <div class="app-header">
                      <h1>📝️ To Do List</h1>
                  </div>
              </div>
          </header>

          <div class="main">
              {{> form }}

              <ul class="tasks">
                  {{#each tasks}}
                      {{> task}}
                  {{/each}}
              </ul>
          </div>
      </div>
  </template>

...
你的应用程序应该如下所示
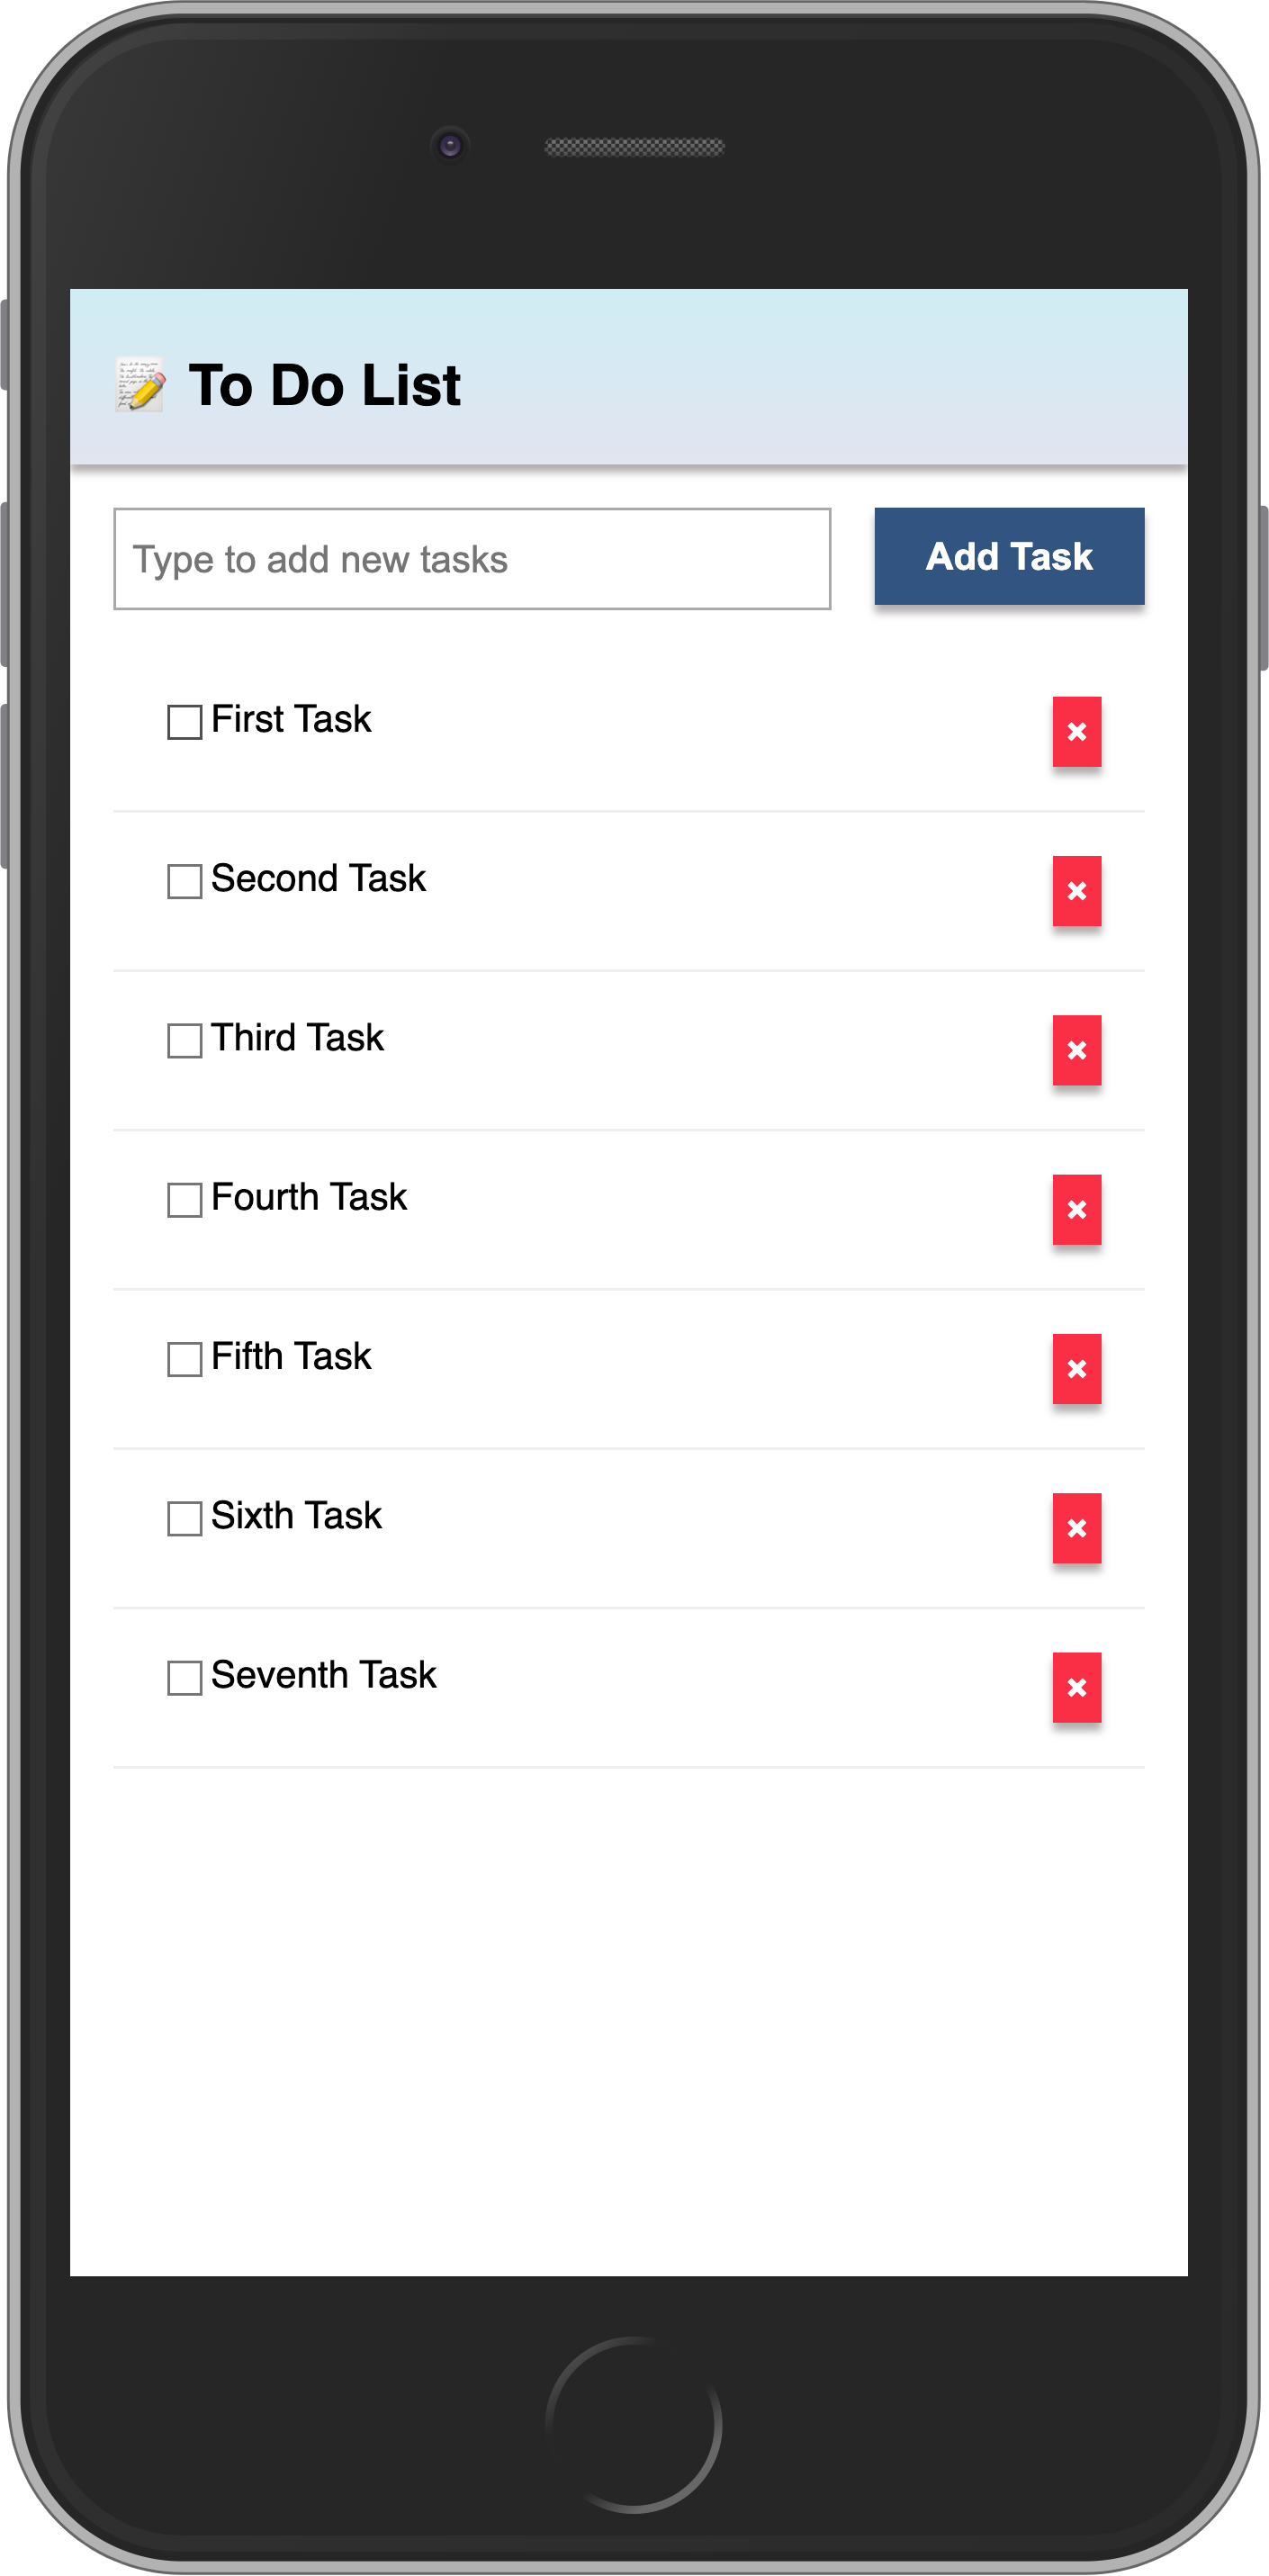
回顾:如果你想检查你的代码应该是什么样子,请点击 这里。
在下一步中,我们将通过过滤任务使此任务列表更具交互性。